


How to Create an Origami Swan
- May 21, 2018
- 2 min read
Today, I will be teaching you how to create an origami swan. This project is fairly easy to accomplish and takes about 3-5 minutes to finish. This swan is fun to play with when you are finished because you are able to pull on the tail and make the wings flap.
Step #1
Take a square sheet of paper and fold it from corner to corner. Unfold the piece of paper.


Step #2
Fold the other set of corners and crease forming an "X" that touches each corner of the paper. Unfold the piece of paper.


Step #3
Fold the paper edge to edge and crease so that you create a line going through the "X" you just created. Unfold the piece of paper.


Step #4
Fold the other set of edges so that you create four lines. You should now have four distinct sections.

Step #5
Using the creases you have made, Bring the top 3 corners of the model down to the bottom corner.


Step #6
Fold top triangular flaps into the center. Repeat on the other side. You should now have a diamond.

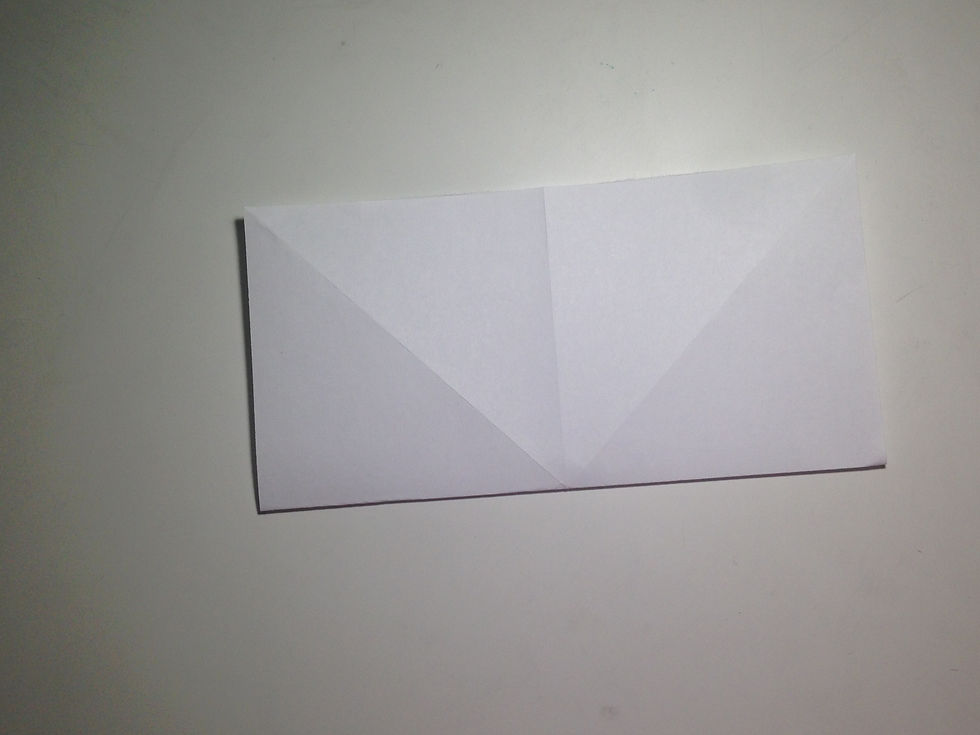
Step #7
Fold top of model downwards over the previous folds, crease well. Now, unfold the previous crease, along with the triangular flaps from Step #6.


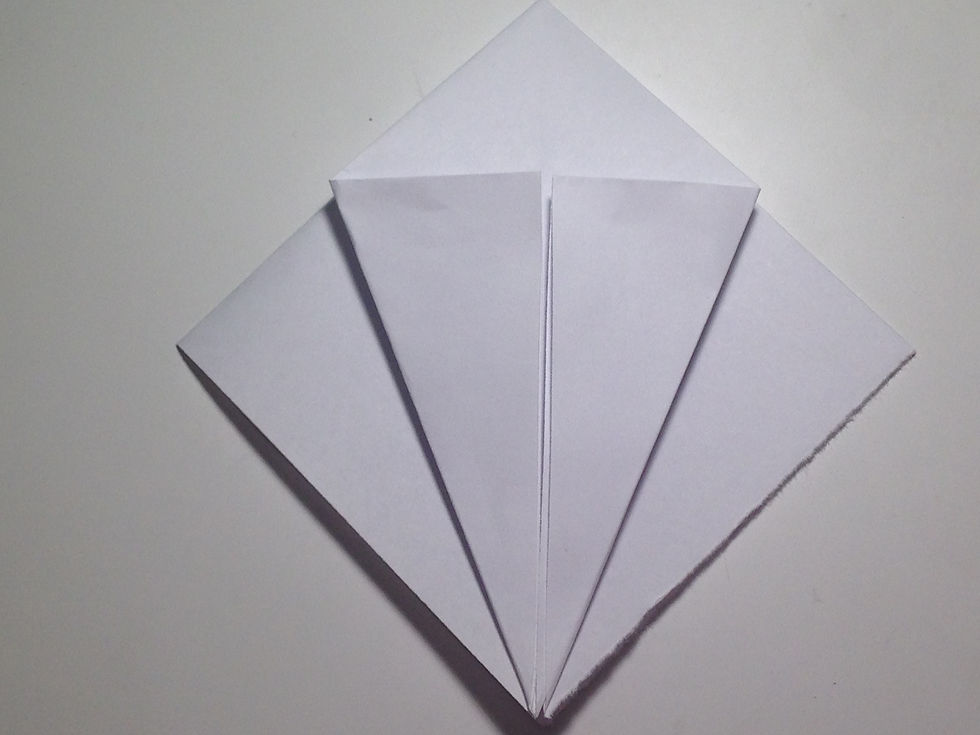
Step #8
Making sure that the open side is facing you, take the top layer and bring it up, reversing the folds in that section. Repeat on the other side. You should now have a tall diamond.


Step #9
At the bottom of your piece, there should two "legs". Take one of the legs and perform a reverse fold so that the "leg" is now pointing up. Repeat with the second "leg".


Step #10
On one of the "legs", perform another reverse fold so that you create the head.


Step #11
To help create the flapping motion with the unit, slightly curl the wings towards the head. To make it look like the bird is flapping its wings, simply pull the tail while holding the front of the model.


Comments